Pages

Saturday, 27 December 2014

A (final) Myrtle...with added kittens

Oh look, it's ANOTHER Myrtle dress...this time with armholes that fit; and accessoried by the foster kittens we are currently minding at Chez Melanie.


Because you've seen this dress, and this Spotlight fabric before, I thought it'd be nice to introduce you to Socks (with the white feet) and T.O.O (called The Other One as we couldn't think of a name for her).

Dave and I have been fostering kittens for the Cat Protection Society in Enmore for about two years now. We host a few litters each year who live in our study for a few weeks at a time (which they have totally destroyed - the couch is shredded, and the books on the bottom shelf are chewed, cables are gnawed upon and the carpet well and truly christened with pee and poop). People wonder how we can give them back...with all that destruction it's pretty easy actually.  The kittens come to us at about 7 weeks old and stay until they are 1kg. At the 1kg stage they go off to be desexed and then back to Cat Protection where they await their "furever" home.


These kittens are well over the 1kg mark but we're keeping them until the New Year as the shelter is currently full. You can see though they are still pretty light; and I can easily lift Socks with one hand...demonstrating how perfect the depth of the armhole is now. After lowering it by 2cm on my last few versions; I raised it back up by 1cm and cut the armhole as a L whilst keeping the rest of the dress as an XL. The dress is SO comfortable now...I wore it out shopping in Chatswood today and in the car as I drove there...comfy comfy comfy.


After the back neckline of my purple Myrtle stretched out to make it unwearable I stay stitched the heck out of the back neckline and back armholes of this bodice (and used tearaway too just to be doubly safe). The back neckline looks a bit stretched/bunchy, but it's just my kitten wrangling making it bunch up. That said, the back bodice is a tad wide though so if I knew how I could pinch out some fabric here...but I've had enough of fiddling with this dress. I just wear the top pull across in a faux "off the shoulder" kinda of way which makes the back fit perfectly.


Oooh, this is Flash (who I call Sad Panda as she just looks so glum all the time). She is melded to this cat bed so the best way to get some Sad Panda time is just to pick her up...bed and all!

Back to the dress: I'm still having a bit of trouble figuring out the elastic waist for this dress (and anything that requires elastic). I *think* this could be a smidgen tighter, but I'm not 100% sure. I also thought I should perhaps lengthen the bodice a bit to make it more blousey and to hide the elastic waist a bit...I don't know? What do you think?


And just a safety note for those of you who like to sew with cats around. Thread is VERY dangerous to cats...they eat it and it gets wrapped up in the guts/intestines. This can actually result in death (and a lot of pain too) and costly operations if you choose to go there. So the motto is...cats and sewing don't really mix.

Pattern: Myrtle Dress by Colette Patterns
Size: XL
Modifications: Armholes changed to Size L; and then lowered at the arm pit by 1cm.
Fabric: Polyester Elastaine from Spotlight (the same print I made my very first, too small, Myrtle out of).
Notions: Elastic, thread and kittens.
Changes for next time: None, though I'd like to try it in a "not" polyester elastaine.

Saturday, 20 December 2014

Purple Myrtle

I've decided to make ONE MORE MUSLIN of the darn Myrtle dress before I bite the bullet and cut into my floral Spotlight fabric which I bought to replicate my first, too small Myrtle. Lizzie from Busy Lizzie in Brissie sent me this purple knit quite a while ago with the idea that I might like to make myself a Keilo dress...which of course never happened.


I'll keep this short as I'm sure you are as sick of the darn dress as I am. After my last Myrtle, I raised the under the arms by 1cm as I felt lowering it by 2cm was just too low for my liking. There's only so much armpit that is fit for human viewing I say! I think it's pretty much perfect now.


I was super dooper excited when I finished this dress and I planned to wear it to work for my last day at "the job" and to our team Christmas lunch. Of course the sewing Gods decided to punish me for my smugness and overnight the back neckline stretched out so much the dress was basically...ruined. Because of the way the bodice is constructed and enclosed it's pretty much impossible to fix this...into the recycle bag she goes. Lesson learned = stay stitch your necklines people. Each time I tried on this dress it stretched more and more.


Oh look, thread! Our whole house is basically covered with bits of cotton these days. Dave says it makes a nice change from the long hair that used to litter the floor and clog up the vacuum cleaner.


Pattern: Myrtle Dress by Colette Patterns
Size: XL
Modifications: Armholes changed to Size L; and then lowered at the arm pit by 1cm. Mmm, armpit - what a delightful word.
Fabric: Polyester Elastaine from Lizzie from Busy Lizzie in Brissie (thanks lovely lady)!
Notions: Elastic, thread and my tears
Changes for next time: None! Let's make this dress One. Last. Freaking. Time. and then move on!

Wednesday, 17 December 2014

It's raining Myrtles

Although the armholes of my first Myrtle Dress were WAY too tight I really loved the dress and was gung-ho to make myself another one ASAP.


At our recent Spoolettes sewing day my Sewing Yoda, Susan from Measure Twice Cut Once had a look at the dress on me and made a few simple changes to the pattern. She reduced the armhole from an XL to L and dropped the finishing spot of the armhole by 2cm. Simples.


I went home and knocked up a toile of the new bodice and attached the skirt to it as I think the skirt is necessary for the toile as the weight of the skirt pulls the top down somewhat and gives a true indication of what the finished garment would look like. This was a SHAMEFUL piece of lazy, haphazard sewing with a super slinky fabric that made me want to jump off our balcony. But it did reveal the armholes were VERY comfortable now, though possibly slightly too low under the arm (fine everywhere else though).


I wasn't really sure if I should raise the armholes up a bit so went ahead anyway to sew my next Myrtle with this fun, 100% cotton jersey from Spotlight. This umbrella/raindrop clad fabric is pretty appropriate for the current Sydney weather that has been non-stop rain for about 2 weeks.


On the plus side this fabric sewed like a DREAM (though was really hard to iron for some reason - the iron would not glide over the fabric like it should do) however it is quite stiff and I have to say I'm not in love with the fabric or this dress...I probably won't wear it be honest.  Look how STIFF the cowl is. I also totally botched the hem and am still tramatiesed when I look at it (FYI, heat + bond is THE enemy)!


With this version of the dress can also confirm with me 100% that the armholes are too big. The are fine at the front and back, but just too low under the old armpit there.


When I tried on the finished garment the stiffness of the fabric was making the shoulders really stick out....in a very bad, 80s "hairband" kind of way, so I jimmied up a makeshift tab in order to contain the shoulders. It took a few goes to get this right, and it's not very neat on the inside, but it's what on the outside that counts...right?


So whilst I don't "love" this particular Myrtle, I do love this pattern and I've already adjusted the pattern and made my next version...so watch this space for more Myrtle Mania coming soon!


Pattern: Myrtle Dress by Colette Patterns
Size: XL
Modifications: Reduced armhole front and back from XL to L; and dropped the underarm by 2cm.
Fabric: 100% cotton jersey from Spotlight - purchased 3m and used most of it
Notions: 25mm elastic and thread
Changes for next time: raise armholes by 1cm.

Wednesday, 10 December 2014

Anita Ponti Pants...in stretch cotton (an experiment)

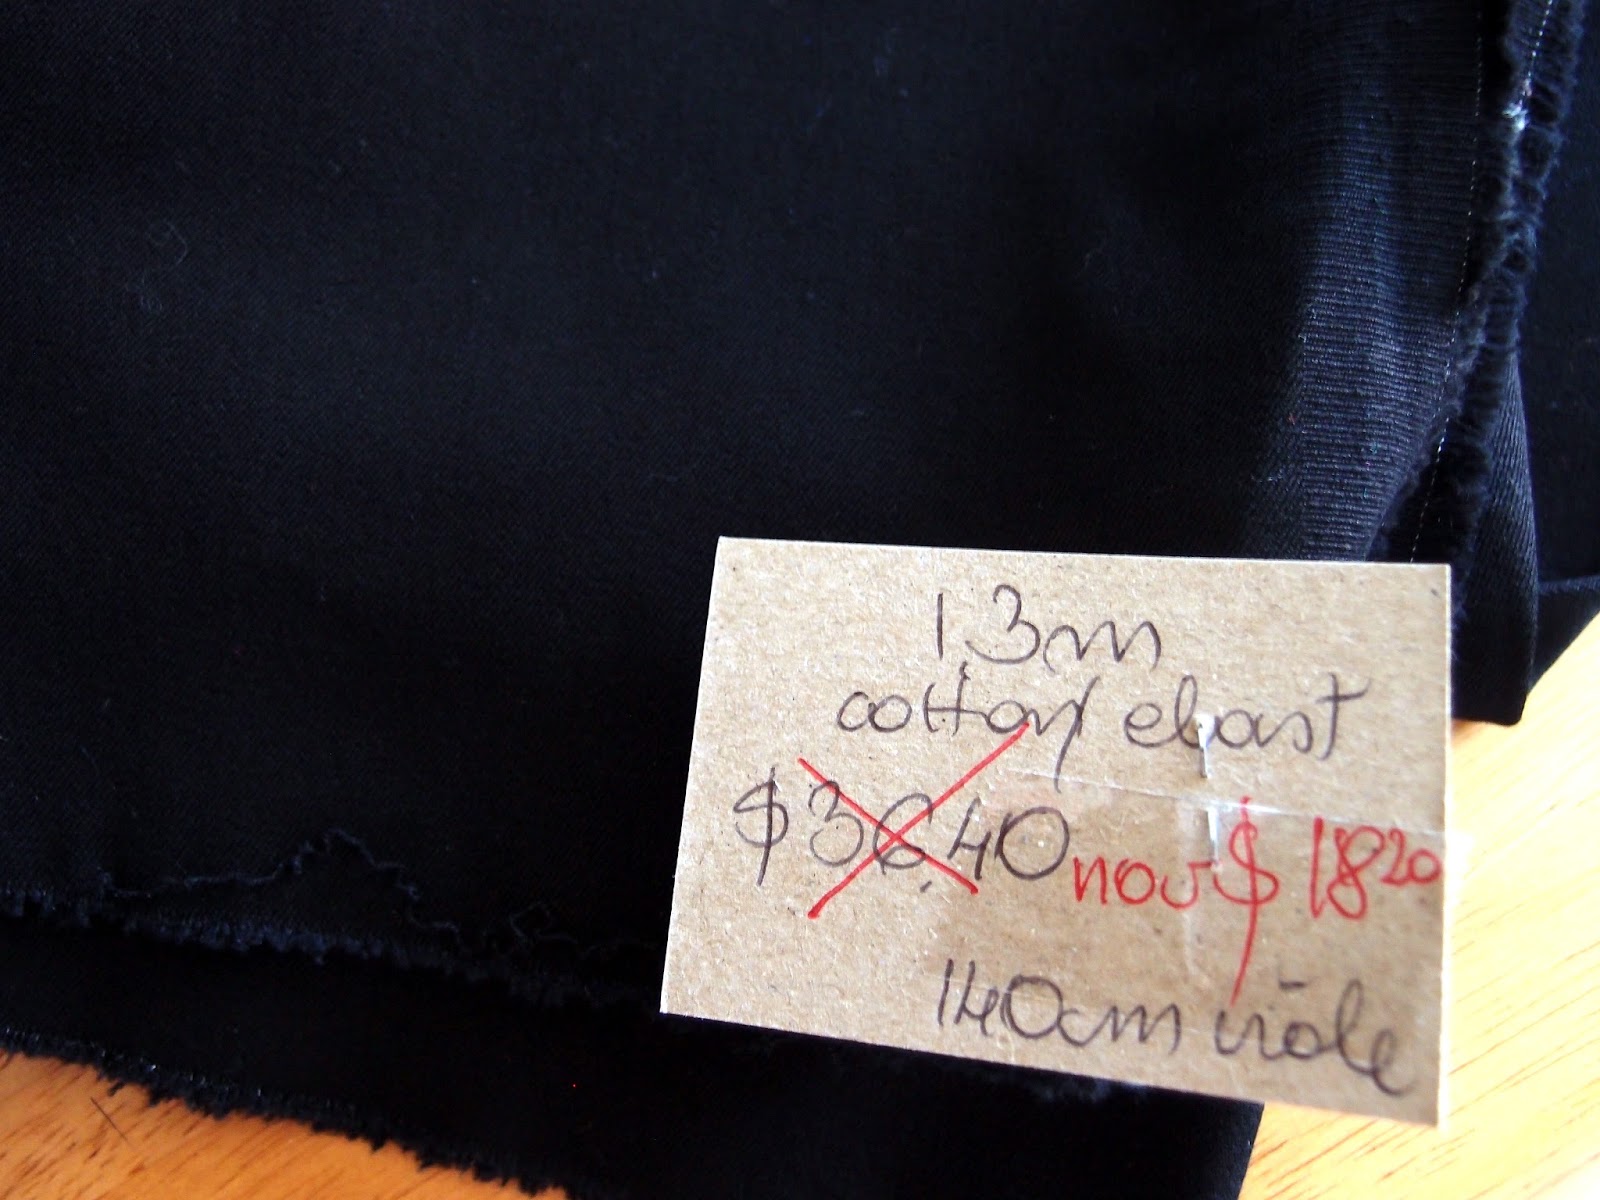
After the success of my most recent pair of Anita Ponti Pants I feel super keen to make ALL the Anita pants I can. After the pants alteration class at Tessuti our teacher Megan pointed out this super stretchy cotton elastaine to me and suggested that they could make a good pair of Anita's. Because I always do what the teacher tells me this fabric came home with me...


The fabric is just 140cm wide and it was a VERY tight squeeze to say the very least.  This is the closest I've come to not having my pattern pieces fit onto the fabric and I certainly had to jiggle things about quite a bit. One of the legs was sitting well into the selvage, but I thinking that's not going to stop the world spinning.  Ah well, the joys of being at the bigger end of the size scale is you need more fabric to make things fit...I blame my bum on this occasion.


I had NO trouble sewing up these pants. The fabric was a dream to sew - so stable and it pressed really nicely. Looking at the finished product though I have to say that the fabric doesn't suit the pattern...I feel the Anita's definitely needs the "softness" of a Ponti to fall nicely and sit smoothly on my body. You can see here how lumpy and bumpy things are from mid-thigh downwards probably due to the fabric being so stiff. The pants do fit well on my thighs and butt though so (mini) winning.


The only silly thing I did was make the elastic waistband WAY too big...so if I were to keep these pants I'd have to unpick the waistband top stitching and make the elastic a bit smaller (I sewed the elastic in by making a channel again, not attaching it directly via overlocker to the waistband as suggested). The elastic waistband is my main stumbling point on these pants (or on anything really...even undies). I DETEST tight things on my tummy and I'm paranoid about making my Anita's too tight....so instead I make them too big. Smart, huh? I've come home from work early before because my undies/pants have been too tight so tight elastic is NO joke.


Speaking of elastic, this is what I have used for my last two Anita pants. Prior to this I was using the ribbed, non-roll elastic and oh boy, talk about uncomfortable - it feels like a steel belt clamped onto my waist.  This elastic (pictured below) is not as stiff as the ribbed elastic, but it still feels really stiff and uncomfortable to me - ribbed for my displeasure that's for sure! I'm wondering if there is another type of waistband elastic on offer that I could be using - your advice would be VERY VERY much appreciated!


So all in all I'm not sure if this is a win...or a fail. I don't think I'll keep the pants, so some chunky waisted lady is going to be VERY happy when she goes shopping at Vinnies next week. I would LOVE to find this fabric again and make a Mabel skirt out of it...that I think would be the perfect fabric/pattern match.

Thursday, 4 December 2014

The flaming Mabel Skirt

Last weekend I headed over to Bobbin and Ink's new store in Petersham to attend a sewing day with the Sydney Spoolettes. This was fresh after my Tessuti class so I was on a sewing HIGH!  This is the second sewing day the Spoolettes have had together and I have to say I love them...there's a LOT of chatting and meeting new people, but surprisingly quite a lot of sewing takes place too.


The fabric I've used for my second Mabel is a thickish cotton/poly/elastaine from the remnant table at Tessuti. The price tag says $42 for 1.2m but I'm fairly sure I only paid $18 for this...I hope! 


I had plans to make two Mabel skirts AND a Casual Lady Dress at this sewing day but I crashed and burned after finishing this first Mabel skirt. Talking, snacking AND sewing is hard work. So this is all I have to show for 6 hours in the sewing room...ahem. These photos are a bit dark and dodgy, but I got Dave to take them as soon as I got home...just as the skies darkened and a huge storm descended. Oh well...


I had thought that this version would be more tight than my first Mabel as the fabric was a lot...firmer, but it's actually turned out to be a much better fit. When I compare the sizes of the two skirts though (laying one on top of the other) this one is bigger than my first version...not sure how that happened as both were cut as an XL.


There's not much else to say about this skirt. I added the clear elastic into the waistband again to make sure the skirt didn't slip down though I found out the hard way that the elastic shouldn't be wider than the overlock stitch otherwise things become too bulky and it's impossible to turn the waistband neatly.


I'll probably make a few more of these along the way...I have some fabric in the stash that would work well, but I guess I'm trying to avoid a cupboard full of Mabel skirts (in a cupboard where I already have about 6 RTW versions of this skirt). What about you...do you sew multiples of a pattern once you find one that works well for you?

Pattern: Mabel Dress by Colette Patterns
Size: XL
Modifications: add 6mm clear elastic into the waistband to avoid any wardrobe malfunctions; lengthen by 15cm
Fabric: Polyester cotton/poly/elastaine from Tessuti
Notions: Elastic and thread
Changes for next time: NONE! Why mess with perfection hey?